
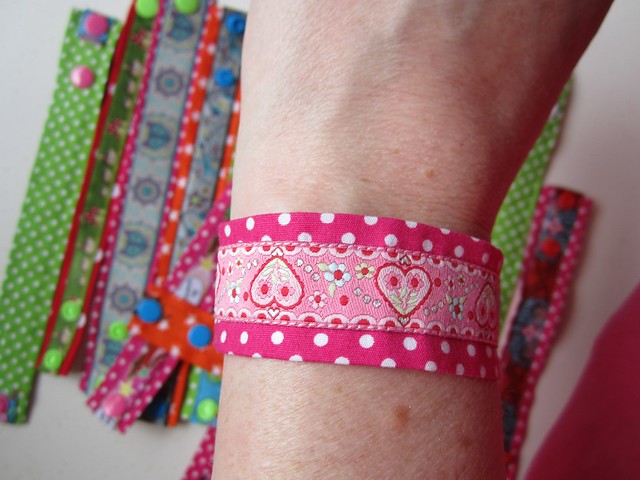
Want to make some too? I'll tell you how I made mine.
Materials:
ribbons
woven fabric
Steam-a-Seam 2
Spray Starch (optional)
Resin snaps + snap press
coordinating thread
lighter to heat seal ribbon ends
sewing machine
iron
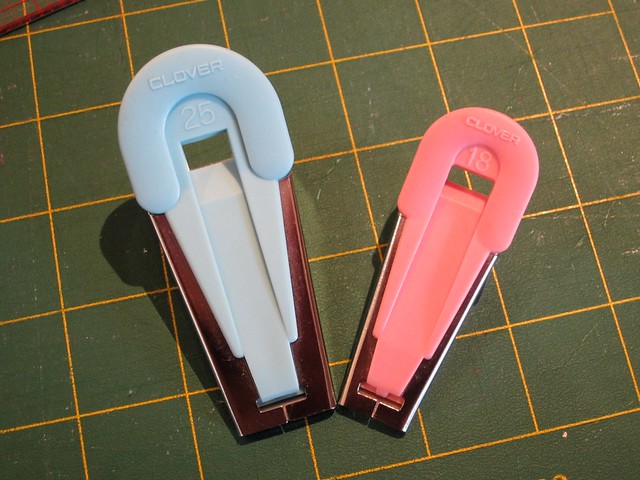
bias tape maker - 18mm and/or 25mm
1. Cut strips of fabric. If you are going to use a 25mm bias tape maker, you need to cut 50mm (2") strips. I don't cut the strips on the bias. I cut them across the grain. If you want less fabric showing on the edges then cut 36mm wide strips, so you can use an 18mm bias maker. Most Farbenmix ribbons are 15mm wide although some are narrower and a few are wider like Florafox. I cut most of my strips 50mm wide, but next time I think I'll go for 36mm.
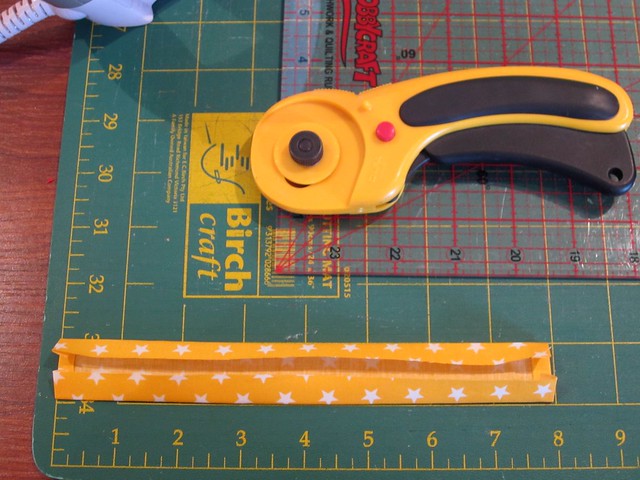
2. Spray strips with starch. Iron dry then use the bias maker to make the "bias". I like to use starch as it gives the fabric nice body and the folds press sharply. Then cut the strips into 21.5cm long pieces. Iron each end in by 0.5cm.
In the photo below you can see the ends of the fabric strip are ironed in.
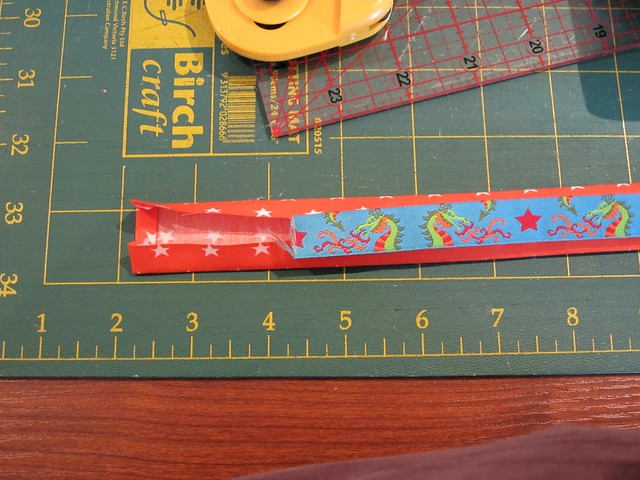
3. Cut a 24cm piece of ribbon. Use a lighter to heat seal the ends (not like in the photo below. My lighter ran out of fuel.) Then iron the ribbon. Make sure the iron isn't above a wool heat setting. The ribbons have a tendency to shrink when a bit of heat is applied to them. Since I used Steam-a-Seam to adhere them to the fabric strip, I needed to pre-treat them with the iron. Cut a piece of Steam-a-Seam to fit the ribbon. Press onto ribbon then place the ribbon onto the fabric strip centred over the opening. A bit of ribbon should overhang on each end and will be wrapped around to the back (you can see the backs of some of the bracelets in the bottom photo). Steam ribbon onto the fabric strip.
3. Stitch ribbon. You can use a straight stitch or a narrow zigzag or any other cute stitch that will stitch the ribbon. I usually use my #10 foot on my Bernina which is the edgestitch foot. It has a centre blade which I line up with the side of the ribbon and then I move the needle to the side. Zoom, zoom and the ribbon is stitched down. Me being me used a coordinating colour in the bobbin, so the stitching on the back matches the fabric, and I changed my needle threads to match the ribbon.
4. Attach the snaps. I have to admit that I originally only had one socket snap, but it made the bracelet too big for the kids. I added an additional socket 2.5cm in from the socket snap at the end (see photo below). That way the bracelet can fit big and little people. If you wanted to make them for little people only, you could take 2.5cm off of the measurements for the fabric strip and ribbon and just use one socket snap.

If I haven't been clear about anything, just ask me! Sometimes the way my brain sees things is different from other people, or perhaps I just got tired of proofreading.
Mollie has already claimed a couple. A couple are for the daughter of the woman who gave me all those ribbons and trims. A few are for Will, and the rest are for the kids' friends if I can manage to stash them away until Christmas/Chanukah time.
5 comments:
Must make some of these for Christmas pressies. Thanks for the tute.
They look great and so many of them! definitely on my list for gifts too.
They are really sweet Sara, a great idea for Christmas. Mind you I still have make you fantastic key fobs first I must have bought the materials over a year ago now!
so cute, what a great idea! will make for my girls!
What a cute idea. Thanks
Post a Comment